The Mammoth's Jump — Next Gen Shapes #1
87 views
September 27, 2026
The Next Gen Shapes Series
There's nothing new under the sun. But, at the same time, the post-AI era seems to emphasize different enough shapes for us to maybe feel like they're new.
In this series, we'll explore some of them. Most have been spotted and catalogued by much stronger players than me, but this first one I haven't spotted anyone mentioning yet.
The following explanations haven't been checked by any professional players, they've mostly come from my experiences and interpretation, as a Fox 6-7d player, at most I have briefly commented about them to friends and colleagues of similar rank.
So bear with me through the future improvements this article will inevitably need and receive. And, if you feel like you have something to add, please do so in the comments below or through direct messages with me.
The Mammoth's Jump
The "Mammoth's Jump" is exemplified in Dia. ?, in a game between Kim Eunji 김은지 9p (Black) and Lee Jihyeon 이지현 9p (White), played on September 20th, 2026:
A cap from a game between Kim Eunji 9p (Black) and Lee Jihyeon 9p (White), forming the "Mammoth's Jump" with A.
The shape between 1 and A is similar to the "Elephant's Jump" , hence the overly creative name for the "new" shape. Would people prefer "Big Elephant's Jump" instead? An ohazama tobi perhaps?
The "Elephant's Jump", diagonal jump or hazama tobi in Japanese, the shape from A to B. This shape's name comes from the elephant piece in the game ofxiangqi — xiàng means elephant in Chinese, so xiangqi is quite literally "Elephant Board/Strategy Game" —, in which the elephant piece jumps over one space diagonally.
The middle point between A and B in Dia. ? is known as the "Elephant's Eye", and is usually a major weakness, since it splits A from B. However, with proper setup and good direction, White 1 could backfire into a less meaningful, slow, or even dangerous poke. After all, it's a move in between two outside opposing stones, which doesn't generate any shape or points by itself.
In almost all cases, Black would like to avoid trying to block the splitting stone too tightly, as it doesn't work, and essentially only creates a broken keima between 1 and A:
Black chases White from behind, while also damaging the A stone.
In general, it's better technique to jump ahead with a keima, as in Dia. ?, staying ahead of the opponent, allowing us to then spend our turn to defend the A stone with B, or perhaps try fights or compromises with C.
Black now jumps ahead, and is then able to defend the A stone in the next move.
The Mammoth's Jump, as I see it and as far as I was able to investigate, is just a variation on the logic behind the Elephant's Jump.
With A a little bit further away, as in Dia. ?, when playing moves such as 2, there's less direct damage to A when White breaks through.
As White breaks through, Black's A stone takes less direct damage.
Again, it's worth emphasizing that neither the Elephant's Jump nor the Mammoth's Jump make much sense without the appropriate context.
In the game example we've briefly inspected above, Black has quite a few reinforcements backing one side of the Mammoth's Jump, and that's not even mentioning that the bottom-right context of a lone White stone might be even more relevant:
Black switches to the bottom-right corner, which is much more efficient than insisting on the center fight.
AI suggests that Black should be willing to sacrifice the A stone in the center, the stone which originated the Mammoth's Jump in the first place, in order to take strength and potential profits against White's B stone and the right side.
Lee Jihyeon 9p (White)'s thought process is not available to me, nonetheless I suppose he didn't poke through because, not only does it damage B, it's a slow move in the center — a kosumi is typically very slow in general, not only in this context. In the game, he opted for the pretty shape of C.
Unexpectedly, though, 32 in Dia. ? is AI's recommendation for White still, with C losing almost a point, or around 11% in win rate.
Circling back to the appropriate context theme, the "feels-good" A cap in Dia. ?, in the middle, in the beginning of the game is typically too vague for AI. White's group on the left is not weak enough to justify a center move at this point in the game. The loss is small, of course, and Kim Eunji 9p (Black) probably chose it anyway because it fits her fierce style of play. To the AI acolytes out there, as Alexandre Amaro Fox 7-8d would say, A feels like a gamble.
AI would rather kick White's stone in the bottom-right, while showing a beautiful display of flexibility in response, diving into the 3-3 right way:
According to AI, Black should have switched directly to the bottom-right, and White should flexibly not insist on saving the A stone.
Moyo Development with The Mammoth's Jump
The Mammoth's Jump is admittedly very niche. No wonder, this article is likely the longest essay on it to this day if not for a very long time — or forever, though that's also a very long time. But the point in studying it is to generalize the underlying, related techniques to other areas of the game.
And one such area is connected to moyos. Sometimes, the Elephant's Jump can be an amazing tool for defending moyos:
Black 1 goes one line beyond the influence-collision area.
Both Black and White are trying to expand their moyos, with the influence-collision area being around A. With 1 on Dia. ?, Black aims at skipping one step further than A, while also reserving the possibility of turning that move into more of an invasion or reduction, rather than a moyo expansion.
If White tries to get in, Black will switch to defending the right side, dealing with the lone Black group in the center separately, and, at the same time, forcing White into creating an empty triangle with the 2-4-6 shape:
Black deals with its center group separately.
The Mammoth's Jump could serve similarly flexible purposes. For example, in the first NEC Japan-China Super Go team match, in 1984, Yoda Norimoto 依田紀基 5p (Black) unfortunately couldn't find the key move in defending his moyo while also reducing his opponent's, Jiang Zhujiu 江鑄久 7p (White):
Black 1, the key move to defend its moyo while also reducing White's center.
Curiously, Black 1 happens to be a Mammoth's Jump from A, and an Elephant's Jump from B.
If you would like to know how Black should deal with White's pokes, check out Go Game Series's China Japan Super Go Match series — Go Game Series is, in my opinion, the best Go YouTube channel at this point —, which is where that example comes from:
The Tiger Shimari
The Mammoth's Jump, when placed in the corner, with the 5-3 first probably, has even received its own moniker, the Tiger Shimari:
The Tiger Shimari.
Kataoka Satoshi 片岡聡 9p gave it the following amusing commentary, during a game between O Meien 王銘琬 9p (Black) and Takagi Shoichi 高木祥 9p (White), in 2001 — that enclosure was even classed as a Meienism:
It is just like dislocating one's jaw.
But he also added:
If Black is able to play A next (Dia. ?), it would be quite the nice shape for Black. However, there are no such good moves available for White.
The Tiger Shimari seems to even have been played by the legendary Huang Longshi 黄龍士 (1651 - 1700) and Takemiya Masaki 武宮正樹 9p, according to John Fairbairn. And, on Amazon Japan, it also has its own book .
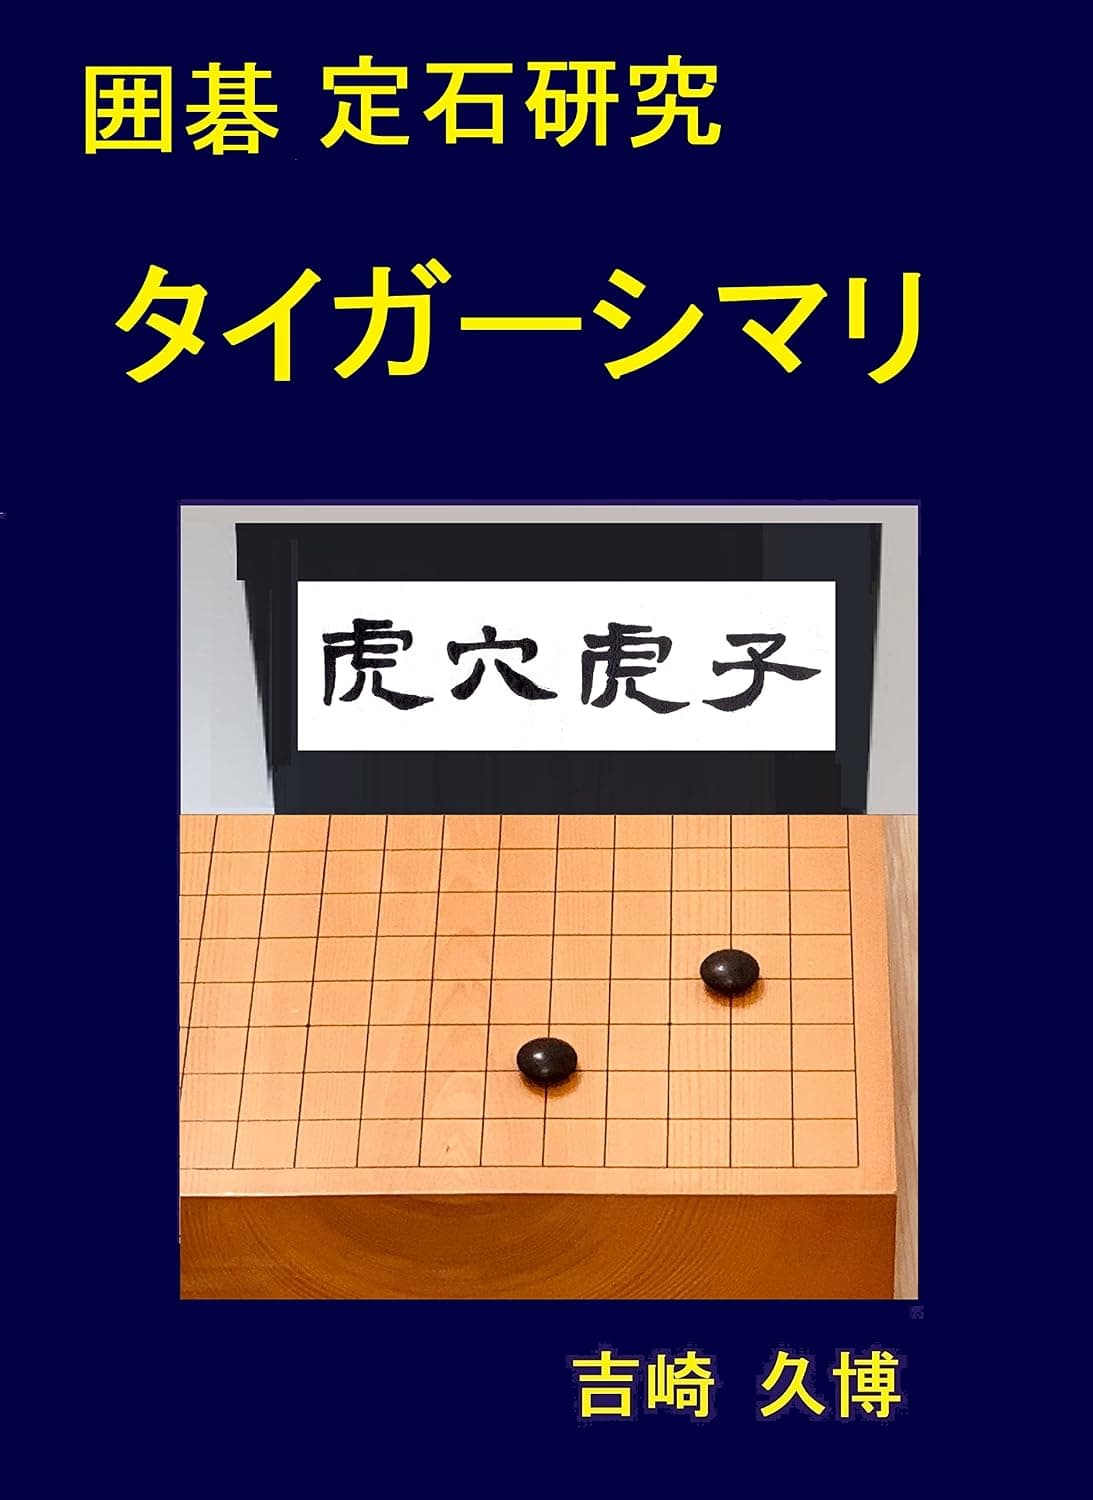
A whole book on the Tiger Shimari. It's longer than this article!
Even though that curious pattern is mostly used out of boredom, or to exploit a competitive edge over the opponent, it does have its place as a possible best move. For example, in Dia. ?, AI gives A, B and C as White's best options, in that order:
A situation in which the Tiger Shimari is one of the best moves.
The main idea behind the Tiger Shimari is to invite White into either A or B in Dia. ?, in order to attack the splitting group from both sides, building territory from the attack.
Black invites both A and B, in order to attack it from both sides.
As usual in the post-AI era, refuting non-standard strategies is as simple as playing standard, reasonable moves, there's no need for anything fancy. The A shoulder hit in Dia. ? is a simple first idea, all White needs to avoid is falling for the shortage of liberties trap after 8:
The first way to deal with the Tiger Shimari, according to AI.
Unexpectedly, a floating group while Black secures the corner is enough for AI.
Starting from the other shoulder hit, this is what AI suggests:
The second shoulder hit way of dealing with the Tiger Shimari, according to AI.
Comments
You need to sign in to comment.
No comments yet.